Project Charter Assignment 1Assignment 1 Title: “Malaysia, Truly Asia”.
Project Start Date: 20 November, 2008.
Project Finish Date: 28 November, 2008.
Project Manager: Lau Sai Fong
HP: Please refer MMLS
Email: Please refer MMLS
Website: http://mcg1014-1071120519.blogspot.com/
Project Objective: Since its earliest conceptualizations in the 1960s, multicultural education has been transformed, refocused, reconceptualized, and in a constant state of evolution both in theory and in practice. As an Asia Country which is Malaysia, is a beautiful country with rich culture waiting to be explored. And I would like to create a multi-cultural post card to represent a passion country - Malaysia.
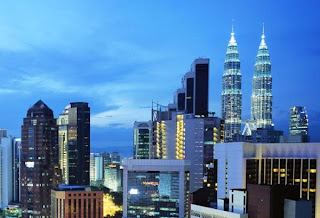
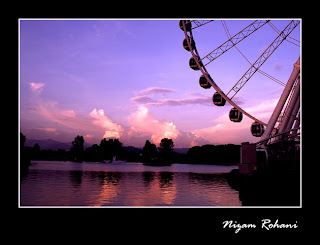
Approach: I would like to create a multi-cultural post card by using the scenery from Malaysia which is day time, evening time and night time of Malaysia as my background. The purpose that I used that scenery as my background is to show out the different visual senses of Malaysia.
Beside the Malaysia’s, I also apply some kind of children smile's picture on it. I was taken four different races of children smile's picture which represent four type races in Malaysia.
The tool that I using during I modify my post card is tool of brightness/contract, Gaussian Blur, stroke, color, hue/saturation, text (font and etc), blending skill which is feather and gradient and others function tool.
Roles and Responsibilities: I will start my work on 20 of November for my research images. And the continuous day I will start to modify my post card in Photoshop CS3. 25 November is my proposal of my assignment 1, and I show out my first stage of my assignment to my tutor. And 28 of November is my submission of my Assignment 1.
1. “Students are to submit the original PSD files (DO NOT FLATTEN THE FILE) together with the images used in the postcard. Call the file StudID_asssignment1.psd”.
2. “Place the files in separate folders. One folder containing the PSD file called Postcard. The other images used are to be placed in a folder call Postcard_ref”.
3. Print the postcard. Postcard size is 6x8 inches with 300 resolutions.
Comment: Photoshop is totally different with Illustrator... But I will try my best to accomplish those hard works.
And the picture at the below is my reference: